
How to Promote Your Content on Instagram
Published on 30th of April 2019If you started an Instagram account to share and promote content from your blog, but you don't know how to do this, we're going to provide ideas and examples in this article. We want to help you receive more readers, viewers, or subscribers.
The way you promote your content varies on the social media platform you're utilizing. For example, you could write a long post on Facebook, and your followers would read it, but they wouldn't read it on Instagram because it's not a place for long-form text. The way you present a story on Snapchat wouldn't be the same on Instagram.
It can all be overwhelming, confusing, and even a little mind-jumbling, so we're going to tell you how to promote your content specifically for Instagram. Let's get started.
Contents
How to share blog posts
Through the main feed
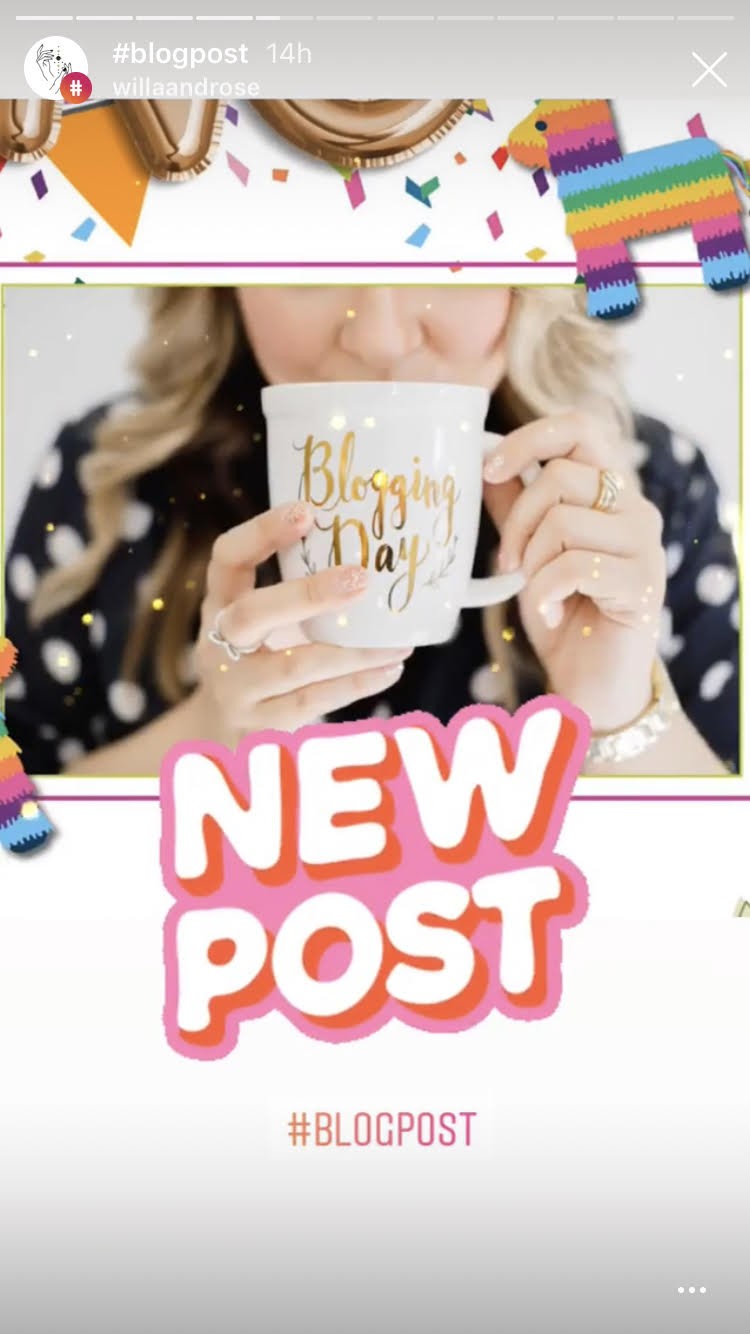
There are a few ways to promote your written blog post on the main feed. The first way is to announce it with a picture that bluntly says, "New blog post! 5 Ways to Make More Money!" While captions on Instagram can be long, they can’t be too long. In this caption, you could explain what the article is about, and even give away the five points, then end it off by saying they can find the link in your bio.
The second way is to grab a quote from your article and turn it into a quote post. Inspirational, motivational, and funny or sassy quotes are popular posts on Instagram. Add your quote, and specify in the caption that the quote is from your new blog post, "How to Be Happy." Use a few hashtags that relate to quotes.
You can also share a picture of yourself. If you've written a blog post called, "A Guide to Being More Productive," upload a picture of you working on your desk. If you've written one titled, "San Diego? Is it worth the trip?" upload the picture you took in front of a sign that says, "Welcome to San Diego!"
Through Instagram stories
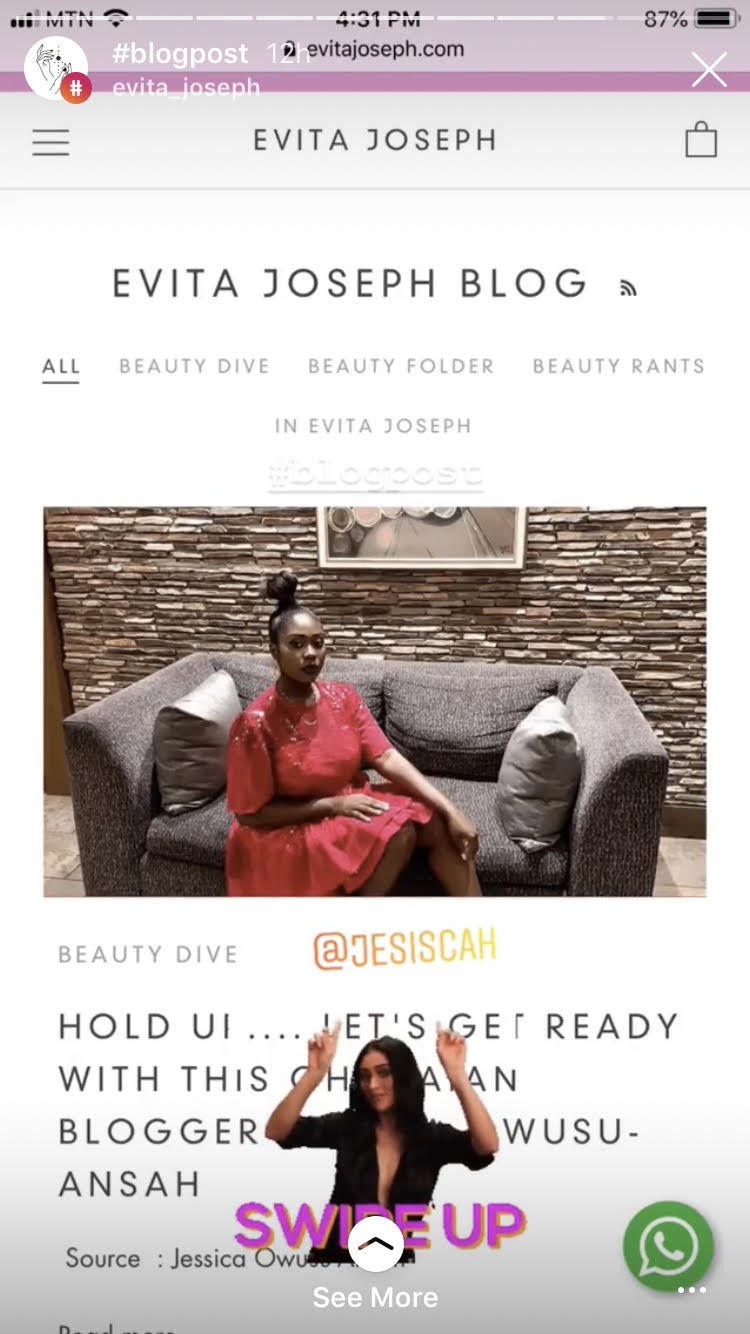 If you have 10,000 followers on Instagram, then you have the "Swipe Up" option. This feature gives your followers easier access to your content. Most people say, "Link in bio," when they want to direct their followers to a new blog post, and having the Swipe Up option saves an extra step.
One way to share your blog post in a story is to talk about it. With the 15-second window available to you, you can say something along the lines of, "Hey guys! I just uploaded my new blog post, ‘6 Ways to Kill Boredom,' if you want to check it out. In it, I'll tell you what you can do when you're bored, plus the one thing that never fails me! If you're interested, check out the link in my bio!"
You can also give the content away. Continuing with the, "6 Ways to Kill Boredom," example, you can give three of the items on that list away in three different stories. After you've told people you uploaded the story, add another with plain text that reads, "1. Read a book." Then, a second story—"2. Take a walk." and so on. Once your viewers are intrigued, they'll go to your article because they want to know what else you have to say.
Take advantage of Instagram stickers. With a poll sticker, you can ask, "Who's going to read my latest blog post?" Your choices could be, "Me!" and "Never..." With a questions sticker, you can ask, "Do you have any questions about my last blog post?" People who may have missed the update might race to read it.
How to share videos/podcasts
Through the main feed
I'm putting videos and podcasts in one section because while a video is about visual and podcast about audio, you can similarly share these.
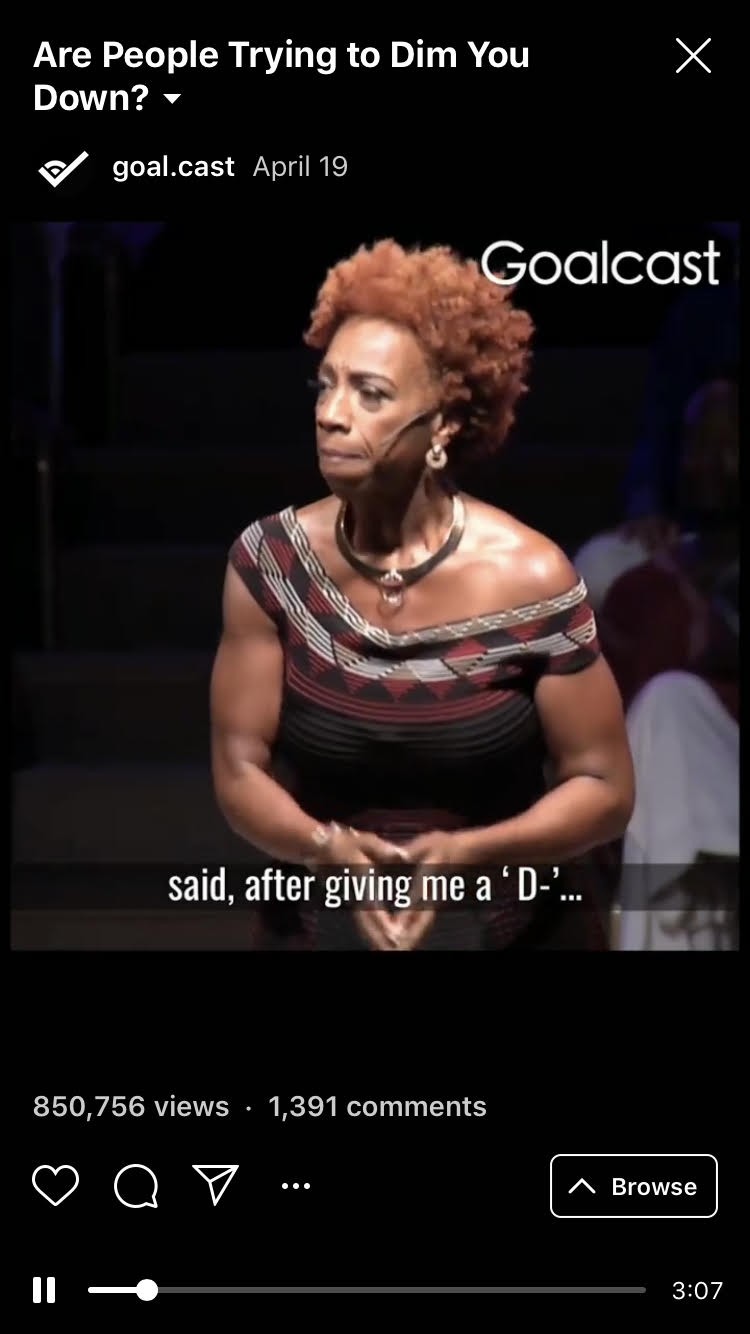
One popular way of promoting videos on your main feed is to get the video you want to share, and cut a clip from it (no longer than one minute). Most people don't just upload the clip; you must add subtitles. You can mute videos on Instagram, and when you mute one video, all the others are muted as you scroll down your feed. Sometimes people won't or can't tap for volume, so you need to have subtitles.
 Another thing people do is add borders to the video, like the example above, and give it a title or ask a question that relates to the topic, that way people know what to expect from it. Write a mini summary in your caption in case someone wants to read what it's about and see if it's worth their time.
You can do this with podcasts, too. For example, if you have a video of you walking and not talking, you can add audio to that. You can add audio behind a picture, or you can use the sound waves of your voice. Use subtitles here, too. Also, if you want, add a border.
You can make a simple post that announces you've uploaded a new video or podcast, or upload a picture of yourself. I won't expand on this here because I talked about this in the first section. Keep in mind that you can also take advantage of carousels. You can upload three one-minute videos or podcasts, or a picture announcing the video or podcasts on one slide, and a clip in the next.
Through Instagram stories
You can share your posts on your Instagram story. If you're hesitant to do this because you're afraid you may annoy some of your followers—don't be. Stories are easily skippable, so no one cares. You want to do this for the people who missed your feed post. When you share a post to your story, the content won't play, but if someone taps it, they'll be taken to the post to watch or listen. How to share your post to your story:
- Go to the post you want to share
- Click the paper-airplane symbol
- Tap "Add to Story" on the top column
- Add text, stickers, and so on, as usual, if you want
- Click "Your story" to add it
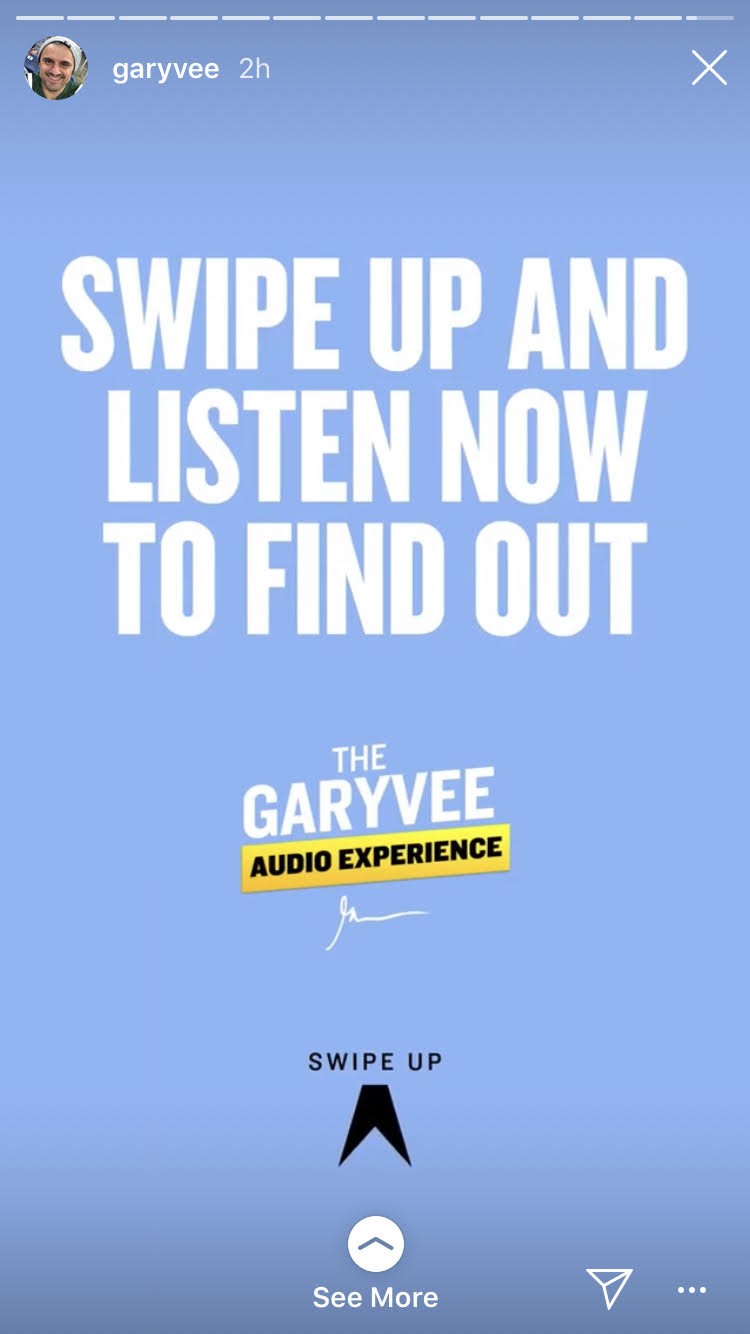
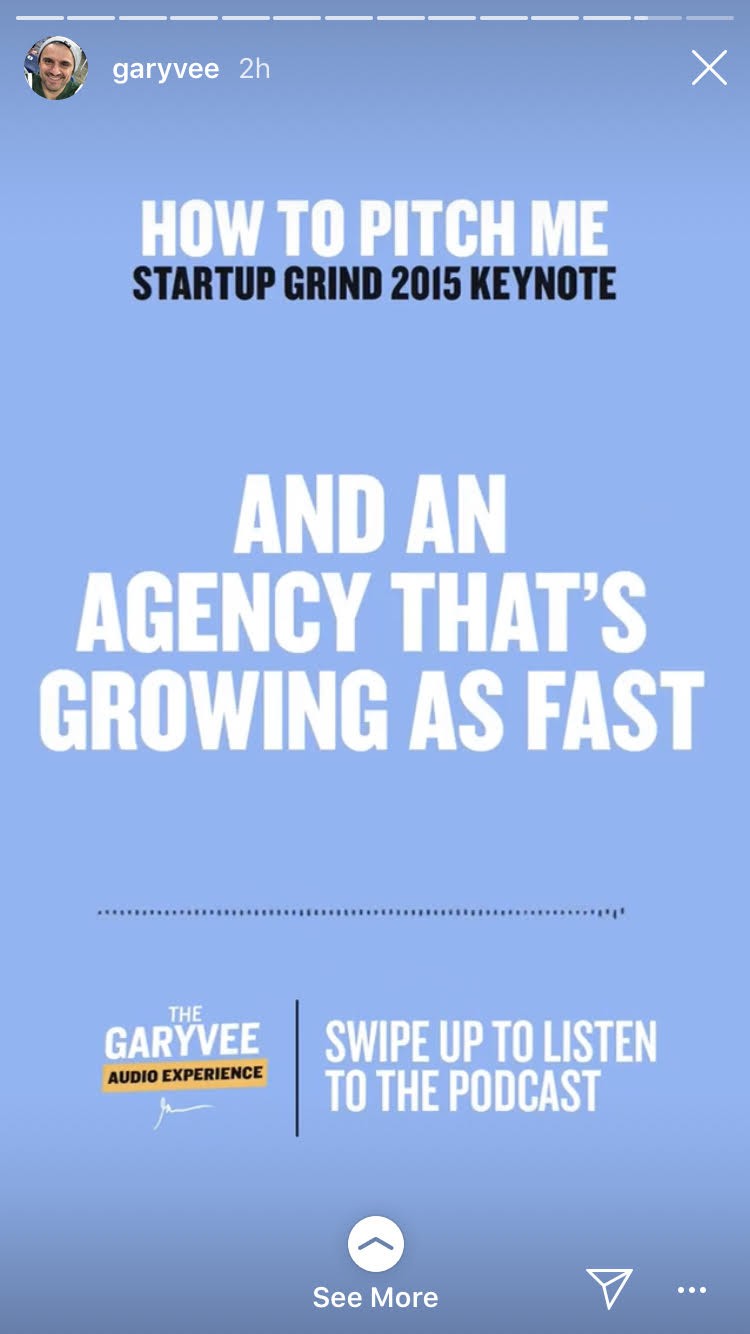 You can also share a clip, and use the swipe option, just like the example of Gary Vaynerchuk above. Finally, you can take a screenshot of your new video or podcast, and say something along the lines of, "Watch my new video!"
Through IGTV
 IGTV wasn't a bit hit when it was released. Instagram users were against the vertical videos right away, but the truth is that IGTV is a great way to promote videos, and people watch them. Instagram is still trying to make it more popular, but it is a great way to share value and promote your content.
On IGTV, you can turn your YouTube videos into IGTV videos and upload them in full, as long as they're no longer than ten minutes. You might wonder why you would share an entire video on IGTV if your goal is to gain more YouTube subscribers, but it's a smart thing to do for numerous reasons.
For one, when a user watches your video, they might become so interested, they take the time to either follow you or go to your channel to subscribe. They might never subscribe, but instead become such hardcore fans of the value you provide, that a year from now, they buy your product. (You can apply all of this to the podcast format, too.)
You can promote your IGTV video on your main feed and your story, as a preview.
How to share freebies
Through the main feed
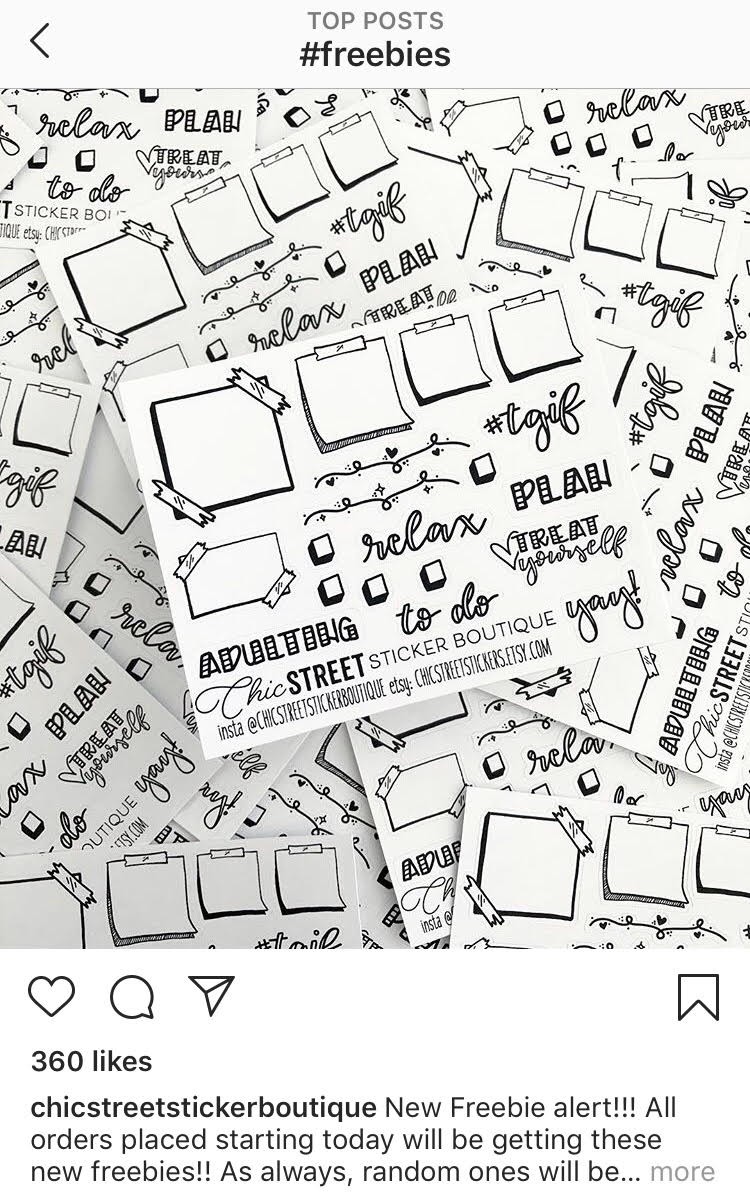 There is one word you must use when you're promoting a new freebie—"free." Make it prominent, clear, and visible. Instagram users already take in so much content, and they scroll non-stop. They even double-tap quickly. If you want to stop your followers in their tracks, use the word free in a big font that catches attention.
Another word you might want to experiment with is the most popular word in your niche—the label. For example, if you sell courses on copywriting, you could write, "Calling all writers!" The people who identify as such are bound to stop because they want to know what you have for them.
You want your followers to go to your profile page and click the link to the opt-in page, so make the post convincing. In your caption, write down why they might want this freebie and how it can help them.
Through Instagram stories
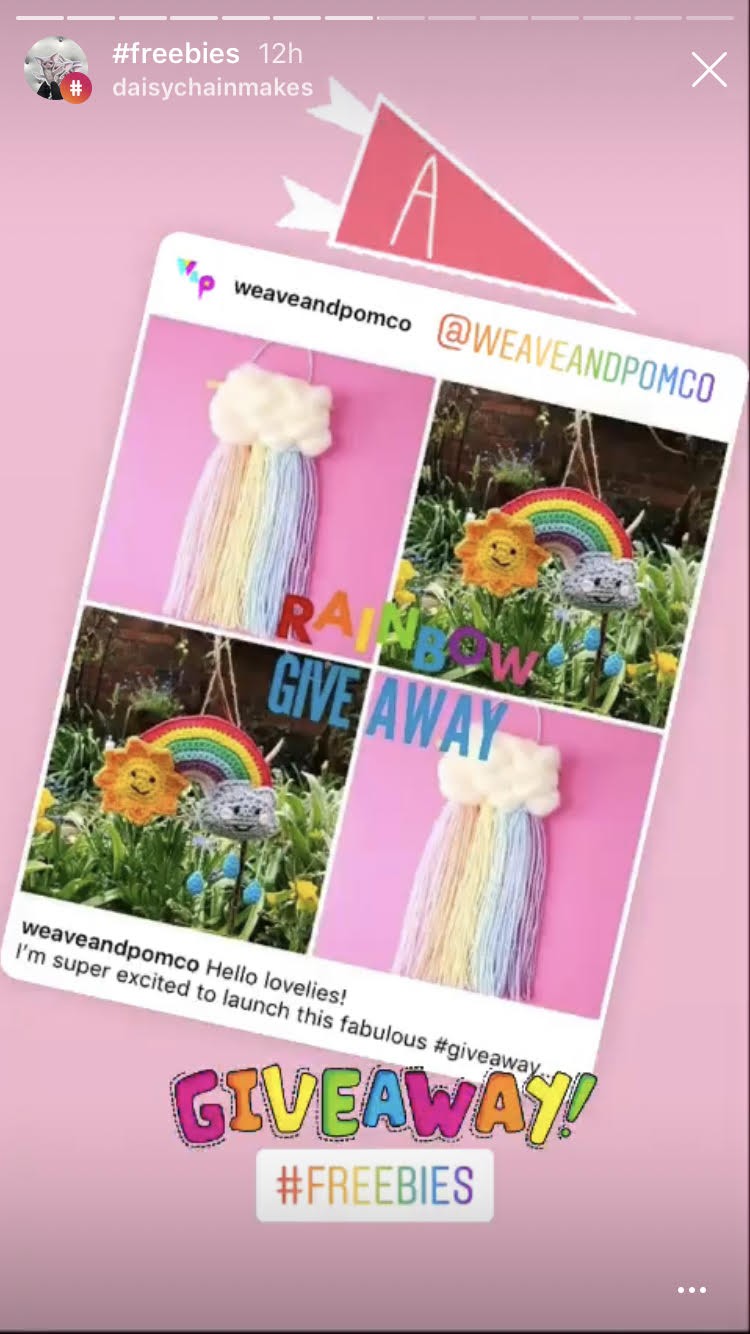 One of the biggest reasons businesses use Instagram stories is to provide behind-the-scenes. I'm assuming you already created a lead magnet, but if you haven't, take a picture of yourself working on it. You can upload those pictures now, to tease that you're working on something, or you can save them for when you announce the freebie. If the freebie is already released, share a section or an entire page on your story. If someone sees something they like, they're likely to download it.
Second, share sneak peeks. You can share a sneak peek by either taking a picture or recording raw product. For example, if you create worksheets on Canva, record your computer screen with your phone as you scroll down. People love to know what you're working on and what they can expect from you; it gets them excited.
If you're about to release a freebie, use stickers to your advantage. While you're sharing these sneak peeks or behind-the-scenes, use stickers to build excitement. Here are some examples of what I mean by that.
- The questions sticker: "Ask me anything about the new freebie!"
- The countdown sticker: 10 more days until my freebie is released
- The poll sticker: "Are you going to download this freebie?" "Who's excited about this freebie?"
- The emoji slider sticker: "Are you ready for this freebie?" "How do you like this new freebie?
- The quiz sticker: "What do you think this freebie is about?" "When do you think this freebie will be up?"
How to share infographics
Through Instagram feed
 Infographics are practically social media content, so they're easier to share. One of the easiest ways to promote an infographic is to take a screenshot of one of the points or parts and share it.
You can also use a carousel. Infographics are listicles (numbered articles.) You can create an Instagram carousel, and in every picture, write down one of the pieces of information you have in the infographic. For example, say you have an infographic called, "5 ways to gain more followers on Instagram." In it, you have, "1. Use hashtags," and "2. Connect with influencers." Under every point, you have small paragraphs of information to expand on these points.
In this Instagram post, you'll write down one point per picture. However, you won't include any information from the paragraphs. If your followers want to know more details, they can go to the link in your bio, where you shared the infographic.
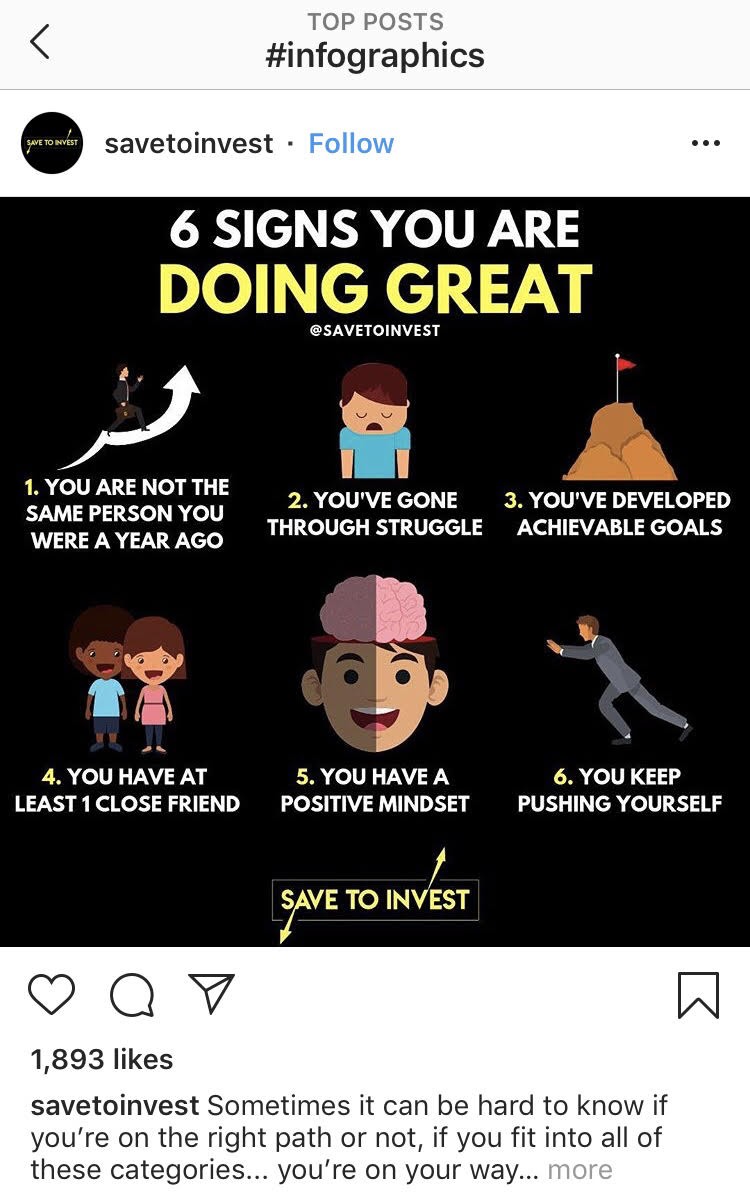
 What you don't want to do is what this picture above did. As you can see right away, the information is too small. You have to strain your eyes to read the text. It's also too much information for one Instagram picture. No one will pause to read that. It would've been smarter to split up the infographic instead as we discussed.
Through Instagram stories
This idea is something you can use for stories and an Instagram post. You can turn your infographic into a mini-infographic. In each slide (or picture of a carousel), you can have a point with some information in it. Then, you can link it in your profile page, or use the Swipe Up option. This way, it's easy to read, and it’s engaging.
There you have it. A few ideas and examples you can use to promote your content! Steal these ideas completely, flip them and make them unique, and let them inspire you to come up with something new!
